myFirst’s Photography Guide for Kids
Point and shoot, am I right?
Taking photographs is awesome! It’s one of the best ways to express yourself and awaken the inner creator nestled within you. They’re in there, we promise!
You must see your parents taking photos all the time. Like when they snap a pic of an old cabinet to sell for $35 on Facebook Marketplace. And then they take another photo of the same cabinet, but now it’s listed as “FREE.”
If you just got one of myFirst’s cool cameras and want to know how to use it to take better pictures than your parents, you’re in the right place!
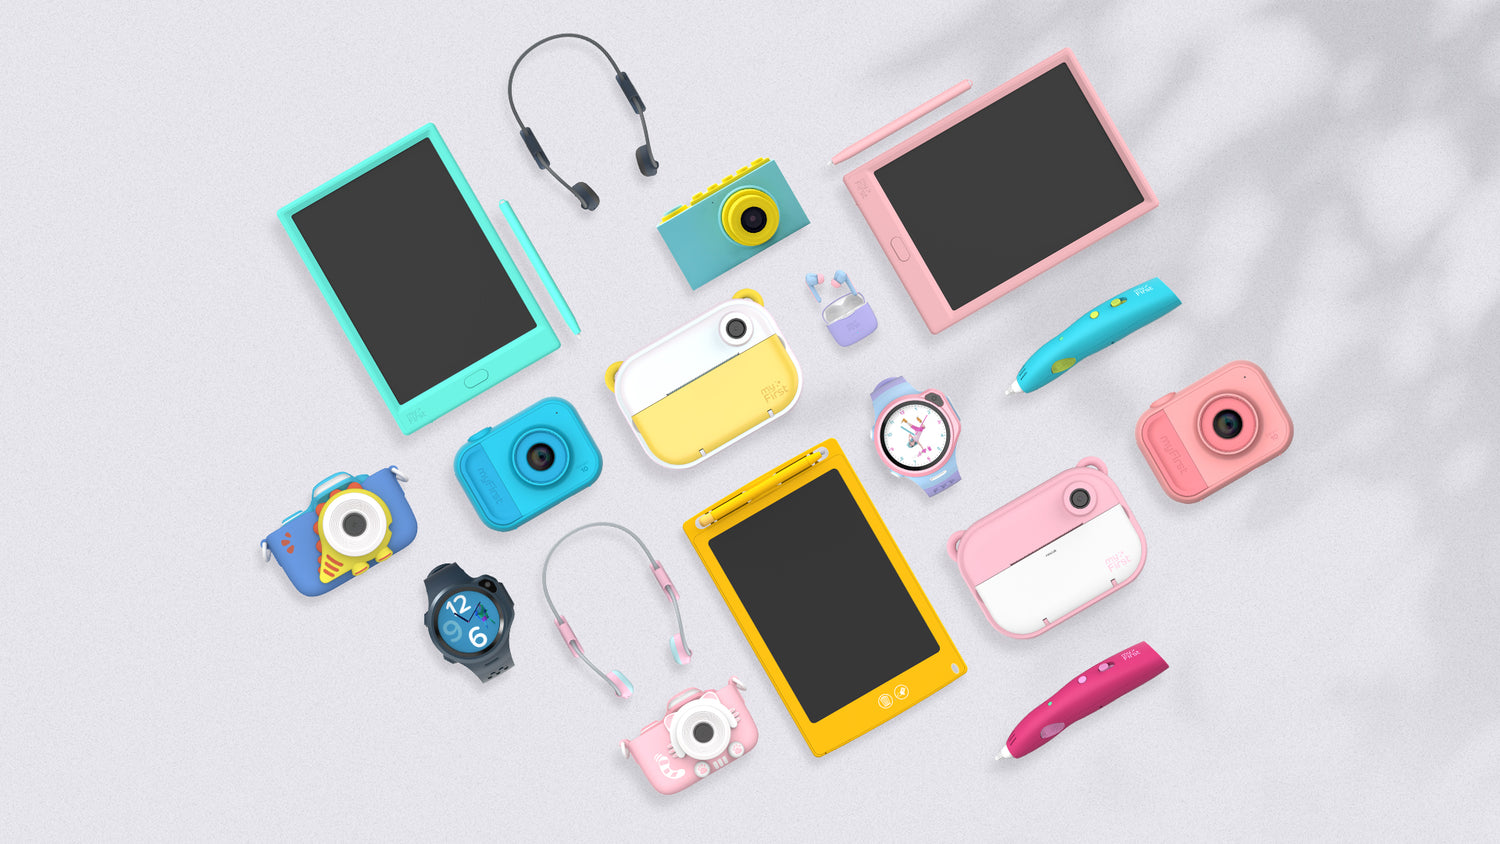
We made this guide so that smart, totally radical kids like you can take the best pictures around. You’re already off to a pretty excellent start by getting one of our cameras, like the brand new Insta Lux. Was it Santa? Grandma? It doesn’t matter who gave it to you! Now that you’ve got a myFirst camera, you’re gonna put your parents' photography skills to shame.
Luckily, all our myFirst cameras are not only cool, but they were also designed to be easy and intuitive to use. So, don’t worry about being unable to immediately take exquisite photos of the washing machine. You’re going to make it look awesome—as long as you follow our guide. Or maybe you’re a photography prodigy, and this information is redundant. Either way, you do you.
Composition — it’s A Thing!
We don’t make the rules

Before you can figure out how to take the absolute best photo of something, you need to decide WHAT you’re taking a photo of. Still life is probably the right place to start. As breathtaking as a photo of a plane taking off is, capturing it might be a little challenging and possibly dangerous.
In comparison, a still life is the least threatening alternative we can think of. In painting (do people still do that?), a still life is made up of things that are usually inanimate or not alive or moving. It’s the same with a still life photograph. Like that one battery no one wants to get from under the cabinet—that would be a great subject! However, you can choose that or anything you like, really.
- A used tissue.
- Your favorite t-shirt wrapped up in a ball.
- Your Mom’s license.
Of course, you can always pick more than one thing and arrange them in whatever way you think looks best.

After you’ve picked what you’re going to photograph, you’ll need to decide on which thing will be most important in your picture. What’s going to be in the foreground and what's going to be in the background.
The foreground is basically what is at the front of the image, and the background is further back, behind it.
Think a galloping unicorn in the foreground with a majestic sunset in the background. Get it? No? Well, this isn’t college. We’re doing our best here.
Should the used tissue be the most prominent element here? How about that t-shirt? Maybe it needs to rest on the side of the still life, like a long forgotten memory… It’s up to you! Do whatever comes naturally.
Alright. You’ve assembled your half-eaten apple, Tamagotchi, and a friend’s toenail on a table. Now you’re ready to take your picture. Well, almost. There’s a little bit more to taking a photograph than just pressing a button. Such as getting your subject, in this case, your pile of garbage, into frame. This means it’s within the parameters of what the camera will capture. You can tell if it’s in frame by looking at the display on one of our cameras, like the myFirst Insta Lux or Camera 50.
Done that? Cool, moving on.
Lighting the Spark of Inspiration
They can’t see nothin’ otherwise

Now, don’t forget, you can take a picture of the greatest thing anyone’s ever seen—“This photo will make me the most famous child on Earth!”, but people still need to be able to tell what it is. Lighting is crucial in photography. Too much light and the photo becomes “blown out,” and you can’t really decipher the details. Not enough light, and the shadows become too strong, and you can’t see anything.
The Smart Exposure and LED flash feature on the Insta Lux does mean you can take clear photographs in nearly any kind of light, but we’re still going to go over the basics of lighting here to cover your photography journey.
For the most part, when taking a photo, like with the Camera 10 or Camera 50, you’re going to want a real light source to get the best results, especially with something like a still life.
Either you’re outside, and it’s nice and bright, and you position your objects so that the sun is facing them. Or you’re inside and you’ve turned on all the lights and maybe grabbed a lamp or your brother’s nightlight (he’ll be fine). Make sure your light sources are hitting your subjects in enough places so that you can see everything well, and you’re not casting too many shadows.
But a nice thing about natural light is that on days when it’s cloudy and overcast, it can actually make your job easier. Too dark? You have to brighten it up. Too light? You have to make it dimmer. Even is just right. The more even your lighting is, on a cloudy day or in a shaded area, the less you have to adjust it.
Getting into Focus
We’re proud of that one

Once the subject of your photo is set up the way you want and you’ve figured out how to get it into frame with the right lighting, you have to bring your picture into focus.
Focus means that the image is clear and defined. Usually, this pertains to the main subject of the photograph, and it’s what’s in the foreground. While objects, people, etc., in the background tend to be out of focus. Meaning blurry, undefined.
One of the really cool things about something like the Camera 50 (other than the touch screen and AI editing features) is that it has a two-step shutter button—like a real film camera. Half-pressing the button brings the image into focus, while a full press takes the picture.
Mastering the ability to get an image into focus is the best way to graduate to taking a photo of a moving image. Tickle your sibling and snap a pic of them laughing. Or insult them and take a photo of them crying. We think whatever you choose to photograph, it’ll come out great! You have followed our guide after all (you didn’t just scroll to the bottom, did you?).
The Student Becomes the Master
Congratulations! *Super Monkey Ball voice*

Now take a thousand pictures! Well, maybe not a thousand, but what’s nice about the Camera 50 or Camera 10 is that they’re digital cameras. You can take as many photos as the memory can hold, and you’ll actually see the images you took on the camera’s display. This way, you can adjust the placement of your subjects or camera angle as much as you want.
In ancient times (the 90’s), it used to be that you had to wait to have your film developed to even see the results of your labors. But with the new Insta Lux and Insta Prix Mini, you can still enjoy the fun of developing photographs, but in the palm of your hand. And also much, much faster. Ever run out of film? Grab some here! It’s a link, you can’t reach into the screen.
Remember, it’s YOUR photo and YOUR camera. So definitely follow along and read our guide through. Try your best to learn the basics—but at the end of the day, you can do what you want. It’s art! Someone made Battlefield Earth after all. By someone, we mean John Travolta. And nobody stopped him!
We hope this guide gave you the right starting points, but at myFirst we always want you to learn, explore, and express yourself in whatever way feels most…YOU!
From all of us at myFirst, go out there and make something!
Like this article? Check out where we think kids & family teach is headed in 2026!